
Many times we have to make changes to a lot of issues at the same time in Jira for example changing the priority, adding a label or assigning issues to someone, etc. There is a much easier way to do the same in Jira instead of doing it manually. Let’s explore this method through this article in few easy steps:
Video Link:
Step1:
Go to Filters section and type your JQL to retrieve the issues which you want to change.

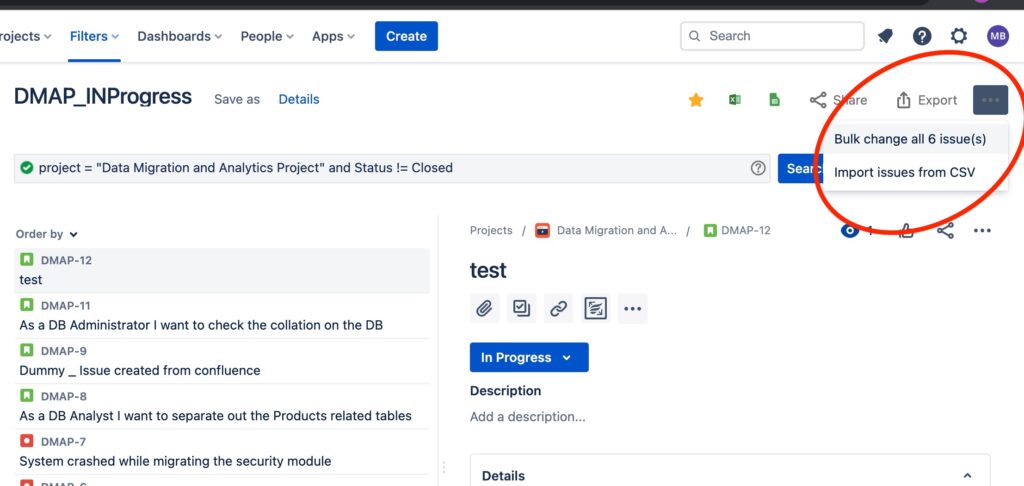
Step2:
Click … on the right side of the screen and select Bulk Change……
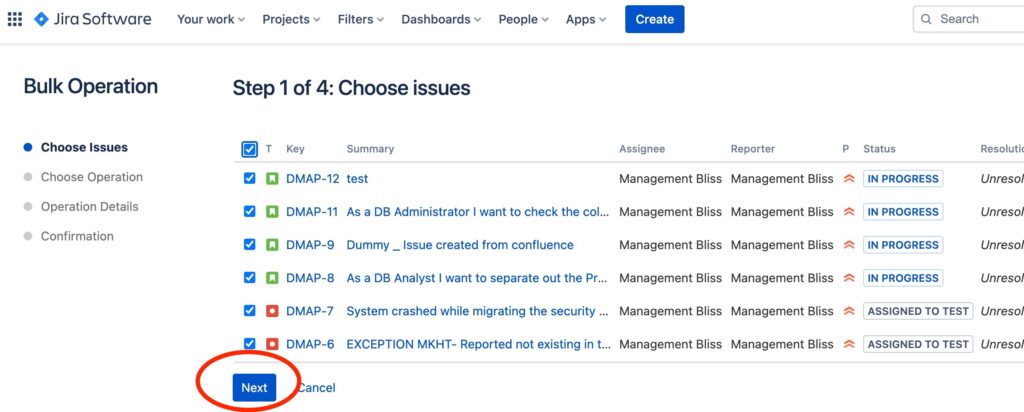
Step3:
Choose the issues and click Next
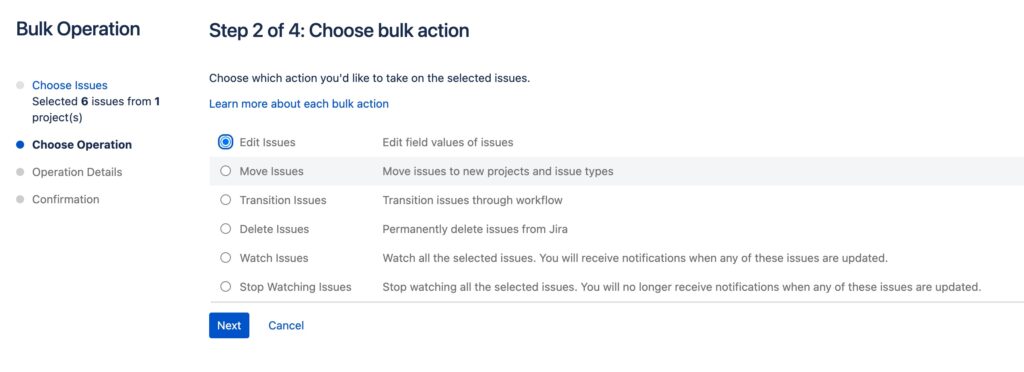
Step4:
Select the required operation and select Next
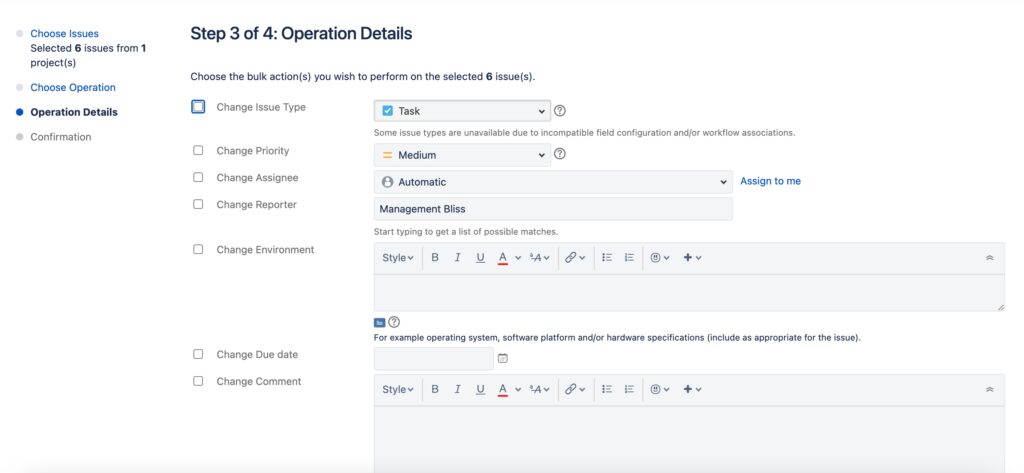
Step5:
Provide the operation details that is what changes you want to make and click Next on the bottom of the screen.
Step6:
Confirm and Acknowledge
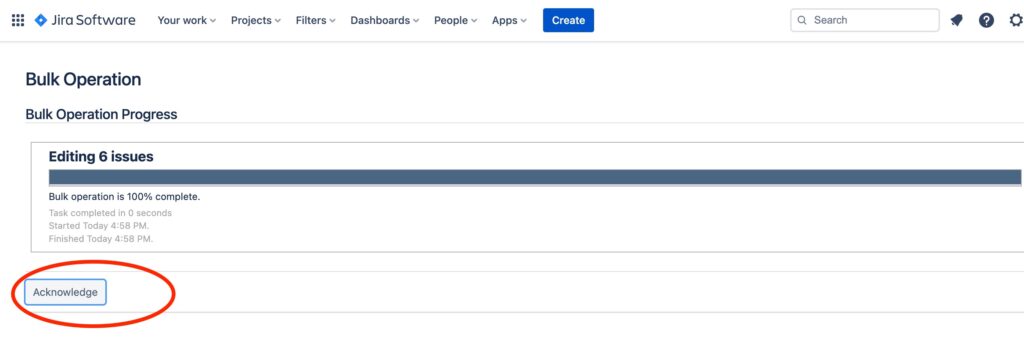
That’s it, changes are done.
Thank you for going through this article have a nice day.